Okay, so let me tell you about this sauna project I tackled. It’s been on my mind for ages, and I finally just went for it.
The Spark and The Spot
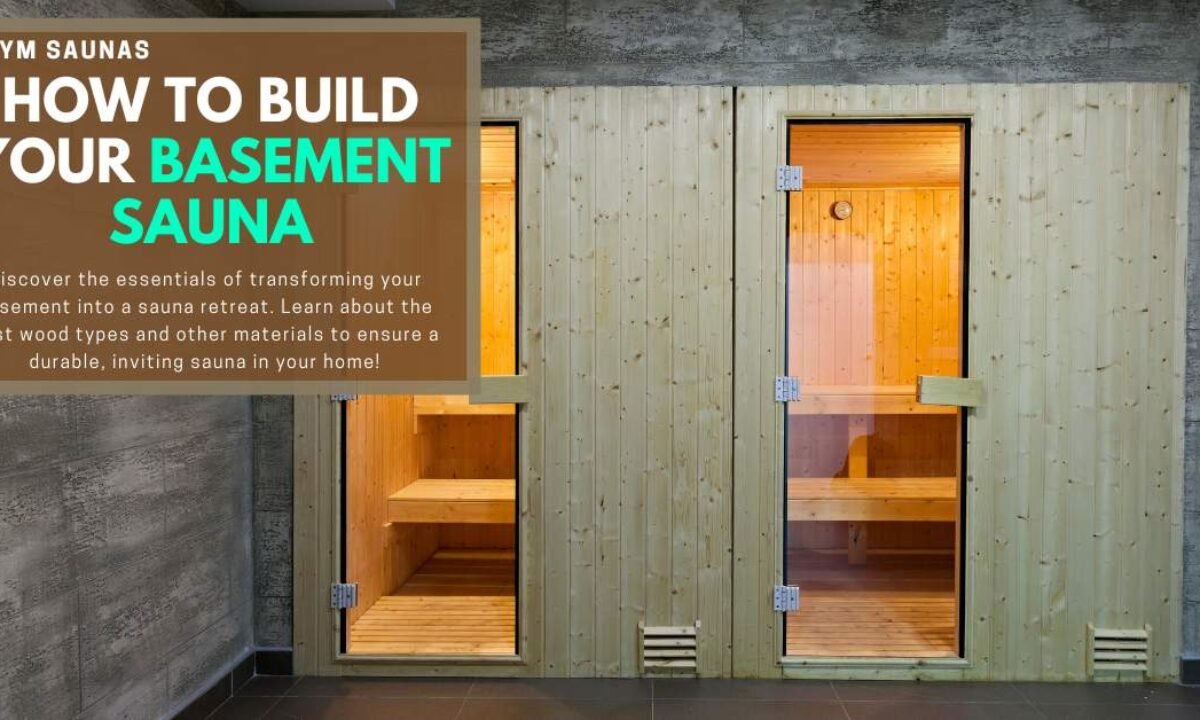
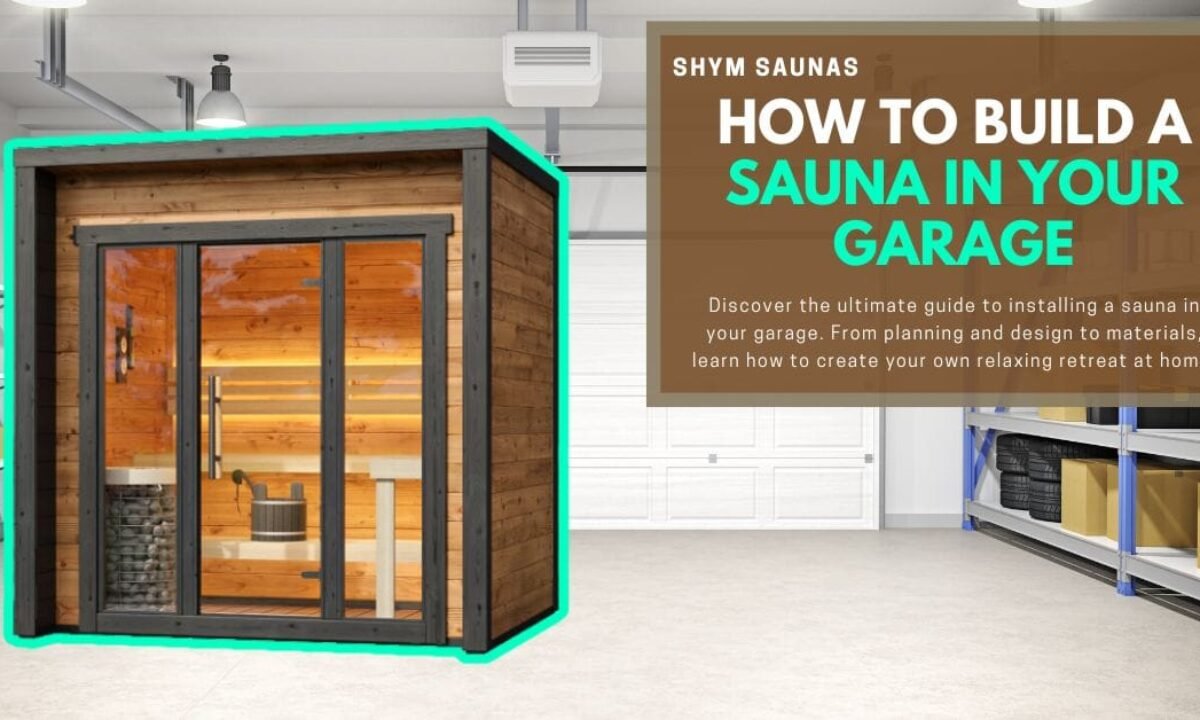
It all started, like most of my hair-brained ideas, with me thinking, “Man, I could really use a sauna.” You know how it is. Looked around online, saw the prices, and thought, “Nope, I can probably build that.” Famous last words, right? Anyway, the first real step was figuring out where to put this thing. My basement was a contender, but then I thought about ventilation and moisture, and the garage started looking real good. Found a nice, underused corner in there.
So, I got out my trusty notepad and a pencil – old school, I know – and started sketching. Nothing fancy, just boxes and dimensions. How big should it be? Big enough for a couple of people, but not so big it takes over the whole garage. I spent a good few evenings just mulling over the size, the bench layout, where the heater would go. You gotta picture yourself using it, you know?
Getting Hands Dirty: Framing and Walls
Once I had a plan I didn’t totally hate, it was time to buy materials. Lumber, mostly. Lots of 2x4s for the frame. And then the cedar for the inside – that stuff smells amazing but, oof, my wallet felt that. Plus insulation, a vapor barrier, all that good stuff. My truck looked like a mobile lumber yard for a bit there.
Then came the actual building. Started with the floor frame, making sure it was level. That’s super important. If your base is wonky, everything else will be too. Then up went the wall frames. It was just me, so wrestling those into place was a bit of a workout. Lots of measuring, cutting, screwing. My drill got a serious run for its money. It started to actually look like a room, which was pretty cool. I even framed out a little window, because why not?
After the main frame, I tackled the roof structure. Kept it simple, slightly sloped. Then sheathing on the outside walls. Nothing too complicated there, just making sure it was solid before I moved inwards.
Insulation, Wires, and That Cedar Smell
Okay, insulation. Not the most glamorous job, but man, for a sauna, it’s critical. You want that heat to stay IN. I used proper rockwool insulation, stuffed it into every cavity in the walls and ceiling. Then came the vapor barrier. This shiny foil stuff, you staple it all over the inside of the insulation. Every seam taped up tight. You don’t want any moisture getting into your walls.
Wiring was next. Now, I’m okay with basic stuff, but for the heater, I was extra careful. Ran the right gauge wire from my panel to where the heater would be. Also put in wiring for a light. Used marine-grade fixtures, just to be safe with the heat and moisture. If you’re not comfy with electrical, get someone who is. Seriously.
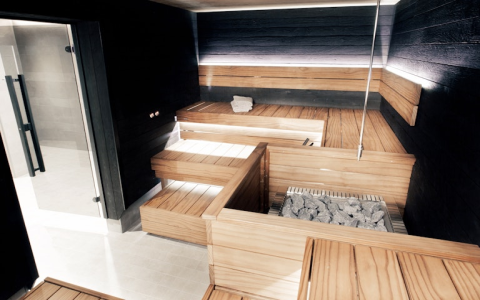
Then, the best part – the cedar! I went with tongue and groove cedar planks for the interior walls and ceiling. This took a while. Each piece cut to fit, tapped into place, nailed carefully. Slow work. But the smell? Oh man, the garage started smelling like a fancy spa. It was so satisfying seeing those plain framed walls transform.
Benches, Heater, and The Final Touches
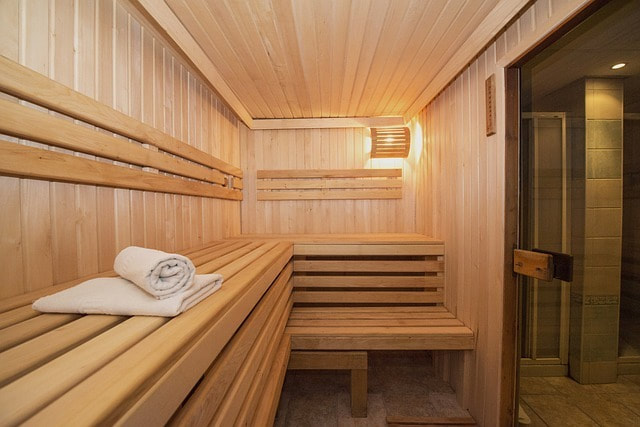
With the walls and ceiling done, it was time for benches. I built two tiers, again out of cedar. Made them beefy – didn’t want any wobbly benches. Sanded everything smooth, no splinters allowed in a sauna!
Installing the heater was a big milestone. I went with an electric sauna heater. Mounted it to the wall, following the instructions to the letter, especially the clearances from the walls. Hooked up the wiring, filled it with the sauna stones. It was starting to feel real!
Didn’t forget ventilation. You need an inlet for fresh air, usually down low near the heater, and an outlet up high on the opposite wall. This is key for good air quality and keeping the sauna from getting too stuffy.
Last major thing was the door. Got a proper sauna door with a glass panel. Made sure it opened outwards and didn’t have a latch that could lock, just a magnetic catch or a roller catch. Safety first, always.
Firing It Up!
So, everything was built. I did a final check, cleaned up the mountains of sawdust. Nerves were jangling a bit, not gonna lie. Flipped the breaker, turned on the heater. And then I waited. It takes a while to heat up the first time.
Peeking in, watching the thermometer climb. And then, finally, it hit temperature. Stepped inside, closed the door. The heat, the smell of cedar… pure bliss. All that work, totally worth it. Now, if you’ll excuse me, I think it’s time for another session. Building it yourself? Highly recommend it. You learn a ton, and the satisfaction is just incredible.