Alright, so you’re thinking about putting a sauna in your house? Lemme tell ya, I went down that rabbit hole, and it was quite the adventure. Figured I’d share how I got mine set up, from start to finish. No fancy talk, just how it went down for me.
Finding the Spot and Prepping It
First thing I did was obsess about where this thing was gonna go. You can’t just plonk it down anywhere. I read up a bit, and yeah, you need some decent height, like at least 7 feet, otherwise you’re gonna feel cramped. And the floor, that’s a biggie. It’s gotta be waterproof. Think tile, concrete, or even vinyl. Carpet? Forget about it, that’s just asking for trouble. My garage corner seemed like the best bet. It had concrete, which was a good start.
My concrete floor wasn’t perfectly level though, so I had to spend some time with a leveler. Didn’t want the whole thing leaning, you know? I also made sure to seal the concrete real good. Some folks go all out with tile for easy drainage, but for my setup, a well-sealed, reasonably level concrete base was fine.
The Kit Arrives – Game On!
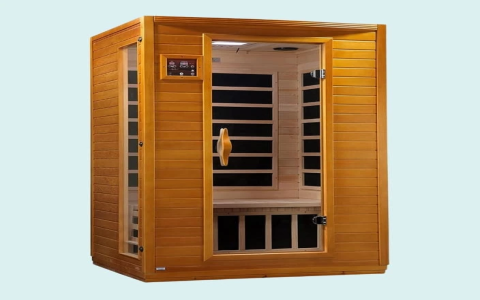
I decided to go with a pre-cut sauna kit. Building one from total scratch? Nah, not for me. I’m handy, but not that handy. The kit arrived on a pallet, a mountain of wood and boxes. Unpacking that felt like a workout itself. So many pieces! The instructions were… well, let’s just say I had to read them a few times. Pictures helped more than the words, sometimes.
Putting It Together – Walls, Benches, the Works
Then came the actual assembly. I started by laying out the base frame, making sure it was square. Super important, that. If the base is off, everything else will be a nightmare.
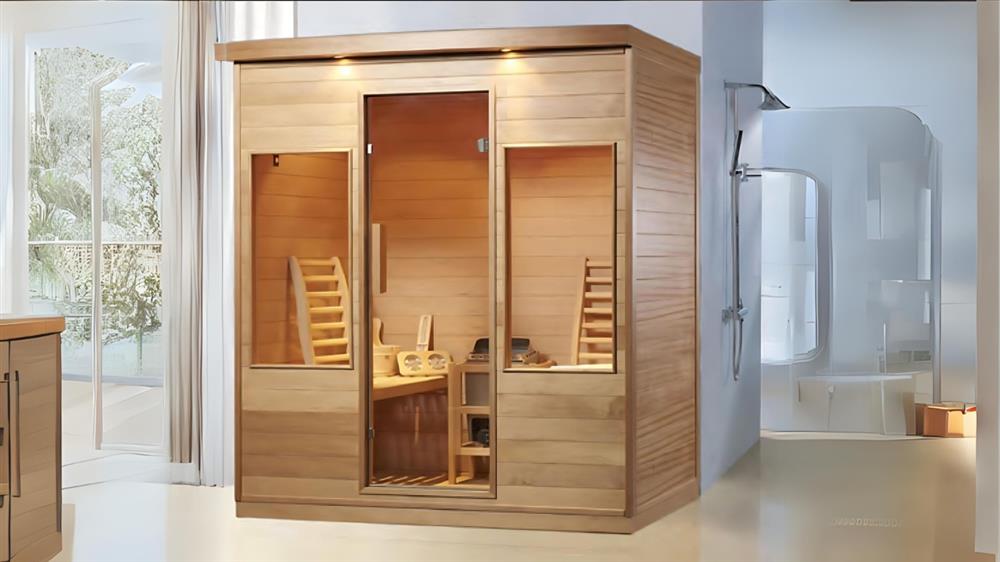
The walls went up next, panel by panel. Most kits have these pre-built wall sections, or at least pre-cut timber for framing if you get a more traditional one. Mine was mostly panels. It was like a giant, heavy, wooden puzzle. I roped in my neighbor for some of the heavy lifting. Definitely recommend having an extra pair of hands. Trying to hold a wall panel straight while also trying to secure it? Good luck doing that solo.
Once the walls were up, it actually started to look like a sauna! Then came the ceiling panels. A bit awkward working overhead, but we managed. Then the door. Getting that door hung just right, making sure it sealed properly, took a bit of fiddling. You want that heat to stay in, right?
Benches were next. These were relatively easy, just screwing the supports to the walls and then placing the bench tops. I made sure they were solid. No one wants a wobbly sauna bench.
The Heart of the Sauna – The Heater
Now, the heater. This was the part I was most careful with. Electricity and heat, you don’t mess around. My kit came with an electric heater. I followed the wiring diagrams to the absolute letter. Made sure all connections were tight and secure. I had to run a dedicated circuit for it too, from my main electrical panel. If you’re even a tiny bit unsure about electrical work, seriously, call an electrician. It’s not worth the risk.
I also had to place the sauna rocks correctly around the heating elements. There’s a bit of an art to it, to allow for good airflow and heat distribution.
Finishing Touches and First Heat-Up
After the heater was in and tested (briefly!), it was time for the little things. Installing the interior light – chose a nice, soft, heat-resistant one. Got the thermometer/hygrometer up on the wall. Made sure the ventilation was sorted; you need some fresh air flow, even in a sauna.
Then, the moment of truth. I closed the door, turned on the heater, and waited. It felt like it took ages that first time, watching the thermometer creep up. But when it hit that sweet spot, I grabbed my towel, stepped inside, and man… totally worth every bit of effort. All that planning, lifting, and screwing things together paid off.
So yeah, that was my journey to getting a home sauna. Took a couple of weekends, a bit of sweat, but nothing too crazy complicated if you take your time and follow the steps. Now, if you’ll excuse me, I think it’s about time for a session!