
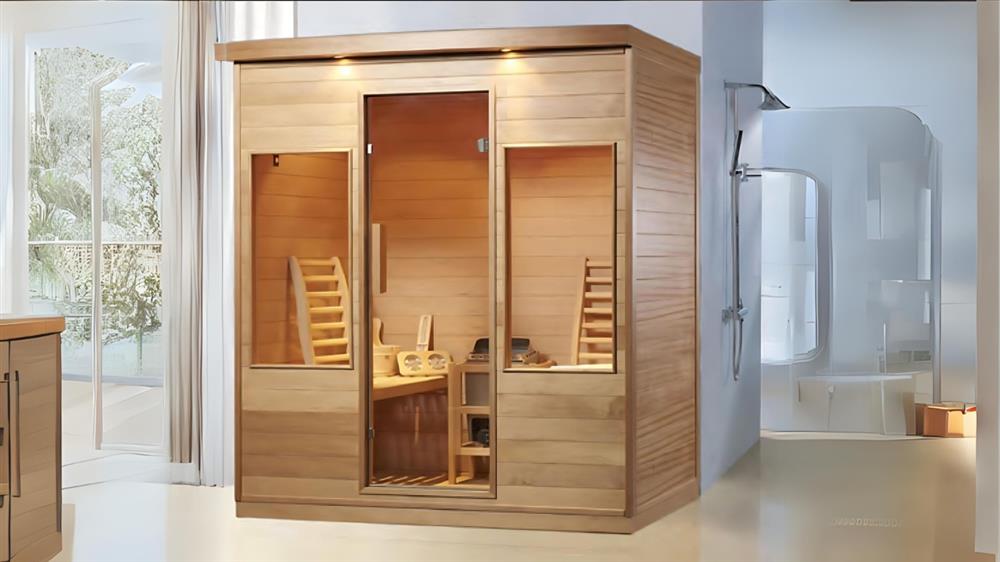
Getting Started – Unboxing and All That Jazz
So, I went and got myself one of them pre-built sauna kits. You know, the ones they say are a piece of cake to put together. Well, “piece of cake” ain’t exactly how I’d put it, but here’s how it went down. First off, the delivery. This monster box lands on my doorstep. I’m lookin’ at it, thinkin’, “What did I just sign up for?” Getting it inside was workout number one, let me tell ya.
Then came the unboxing. Man, oh man. Styrofoam. Everywhere. My whole front room looked like a blizzard hit it. Seriously. I dragged all the panels out, all the little bits and pieces. Listen up: I actually grabbed the checklist and made sure every single screw and panel was there. Heard some horror stories, you know? Lucky for me, it was all good. Counted my blessings on that one.
Next, I had to make some space. Picked a spot in the basement. Shoved a load of old junk out of the way, swept the floor like mad, and then got out the level. The instructions hammered on about a level floor, so I wasn’t gonna mess that up. Spent a good while making sure it was dead flat. Don’t you dare skip this part, or you’ll have a wobbly sauna, and nobody wants that.
Building it Up – Floor and Walls, The Real Work Begins
Alright, space cleared, tools kinda ready. Time to chuck down the floor panel. That part was easy enough. Just plonked it right where I wanted the sauna to be. Felt like I was laying the first stone of a castle or somethin’. Or, you know, just a sauna floor.
Then the walls. These things are supposed to just slot together. My kit had these big, heavy wooden panels. Back wall went up first, obviously. Then I started wrestling with the side ones. It was like building with giant LEGOs, if LEGOs weighed a ton and could smash your toes. Nearly happened, not gonna lie. Had to be real careful.
- Got the back panel leaning where it should be.
- Then I started hooking up the side panels. They kinda locked into each other.
- Some kits have buckles, some have screws. Mine was a mix, sort of tongue-and-groove with these clips on top. Bit fiddly.
Getting them all to line up just right? Yeah, that took some serious wiggling and a bit of what I call “gentle encouragement” with a rubber mallet. Word of advice: don’t go smashing things. If it ain’t fitting, you’re probably doing it wrong. Or the wood’s warped, and then you’re really up a creek. Thankfully, mine was mostly straight.
Getting Comfy – Benches and Slapping on the Lid
Once the walls felt like they weren’t gonna fall over if I breathed on them, it was bench time. These usually just slide onto supports that are already there on the walls, or they got their own little legs. Mine had the supports built in. So I just heaved the bench bits up and slotted them in. That was pretty satisfying, I gotta say. Could finally picture myself sitting in there, sweating it out.
Then the ceiling panel. This was where it got a bit dicey. Lifting this big flat thing up and trying to get it to sit neat and tidy on top of all four walls. And let me tell ya, if your walls ain’t perfectly square, this is when the ceiling panel laughs in your face. Had a tiny gap on one side. Had to go back, loosen a wall, nudge it a bit. What a faff. But I got it in the end. It just dropped on top, and then I screwed it down from the inside. Solid.
The Guts of it – Door and Heater Time
The door! Felt like I was getting somewhere now. Usually, the door comes in its own frame, all pre-hung and everything. Thank goodness. You just gotta fit that whole frame into the opening. Hinges were on, glass was in. I ain’t messing with installing glass, no way. Just had to screw the frame to the front wall. Spent a bit of time making sure it swung nice and easy, no sticking. Adjusted it a couple of times. Good to go.
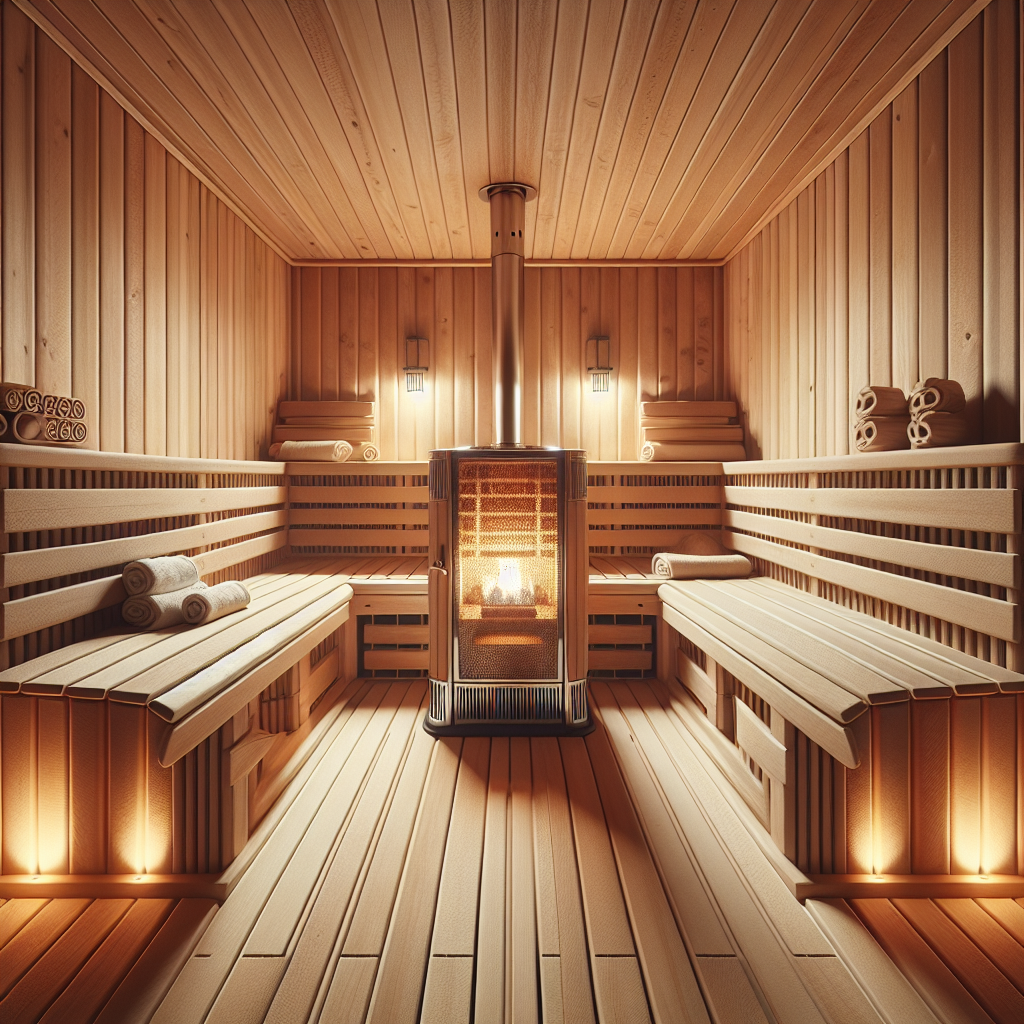
Now, the heater. Pay attention here: if you don’t know your way around wires, just call a sparky. Seriously. Don’t mess with electricity if you’re not 100% sure. Mine was an electric one, needed its own proper circuit. My mate’s an electrician, so I got him to give it the once-over before I even dreamed of flicking any switches. Safety first, always. The heater itself just bolted onto the wall with some brackets. Easy peasy. Then piled the sauna stones on top. Can’t forget the stones.
The Final Bits and The Big Test!
After the heater, it was just the fiddly bits. Screwed on the door handle. Popped in the little light fixture it came with. Nothing fancy. Any backrests or headrests too, they just screwed on or slotted in. Easy stuff compared to the rest of it.
Gave everything a final check. Made sure all the screws were tight. Wiggled everything to make sure it was solid. Then, the big moment. Took a deep breath and flipped the power on. The heater started to glow! I let it warm up like the book said, maybe 40 minutes or so.
Stepping inside that first time? Magic. All that hauling, screwing, and head-scratching, and there I was, in my very own sauna. It worked! It actually got hot! Was sweating like a pig in minutes. Total success! Took me the best part of an afternoon, maybe five, six hours all in, with a few cuppas and a bit of cussin’ under my breath. But yeah, totally worth it.
So that’s my story of putting the sauna together. It ain’t rocket science, but you need a bit of patience and to actually look at the instructions (most of the time, anyway). If a regular bloke like me can do it, you probably can too. Just take it slow, and don’t be shy about asking for help, especially with that electric stuff.