Alright, so I finally did it. Got myself one of those sauna kits. You know, the ones that promise “easy assembly.” Yeah, right. “Easy” if you’ve got a team of NASA engineers and the patience of a saint, maybe.
The Arrival and the “Plan”
Thing arrived on a pallet. Looked like a giant wooden jigsaw puzzle that someone had dropped from a great height. So many pieces. My garage suddenly felt tiny. The delivery guy, bless his heart, just kinda shrugged and wheeled it in. “Good luck,” he said. I should’ve known then.
First things first, I laid out all the bits. The instructions… well, let’s call them “illustrated suggestions.” A few diagrams, some arrows pointing vaguely, and text that seemed translated by a particularly confused robot. I swear, half the battle was just figuring out what piece was what. “Wall panel A” looks suspiciously like “roof panel C” when you’re tired and slightly annoyed.
Getting Down to Business (or trying to)
So, I grabbed what I thought was the floor panel. Seemed like a logical place to start, right? The instructions showed it just slotting into place. Mine needed a bit more… persuasion. A rubber mallet became my best friend pretty quick. Then came the walls. These were big, heavy, and apparently designed to pinch your fingers at every opportunity. My wife came out to “help,” which mostly involved her pointing out I was holding a panel upside down. Thanks, dear.
- Slotting the first wall panel into the base. That took a good twenty minutes of wiggling and mild swearing.
- The second panel was supposed to connect to the first. It did. Eventually. After I realized I had to loosen the first one a bit.
- Then the back panel. More of the same. Push, wiggle, tap with the mallet, check the “suggestions” again.
- By the time I got to the fourth wall, I was sweating more than if I was actually in the sauna.
Wiring was next. Oh boy. This is where things got “interesting.” The manual showed a neat little diagram. My sauna’s wiring looked like a bowl of colorful spaghetti someone had sneezed on. I triple-checked every connection. The last thing I wanted was to turn this thing on and short out the whole neighborhood. Reminded me of this one time I tried to fix my own dishwasher. Ended up flooding the kitchen. That was a fun phone call to the insurance company. “So, you’re telling me you tried to reroute the main water line with duct tape?” Yeah, not my proudest moment.
The Heater and the Door – More “Fun”
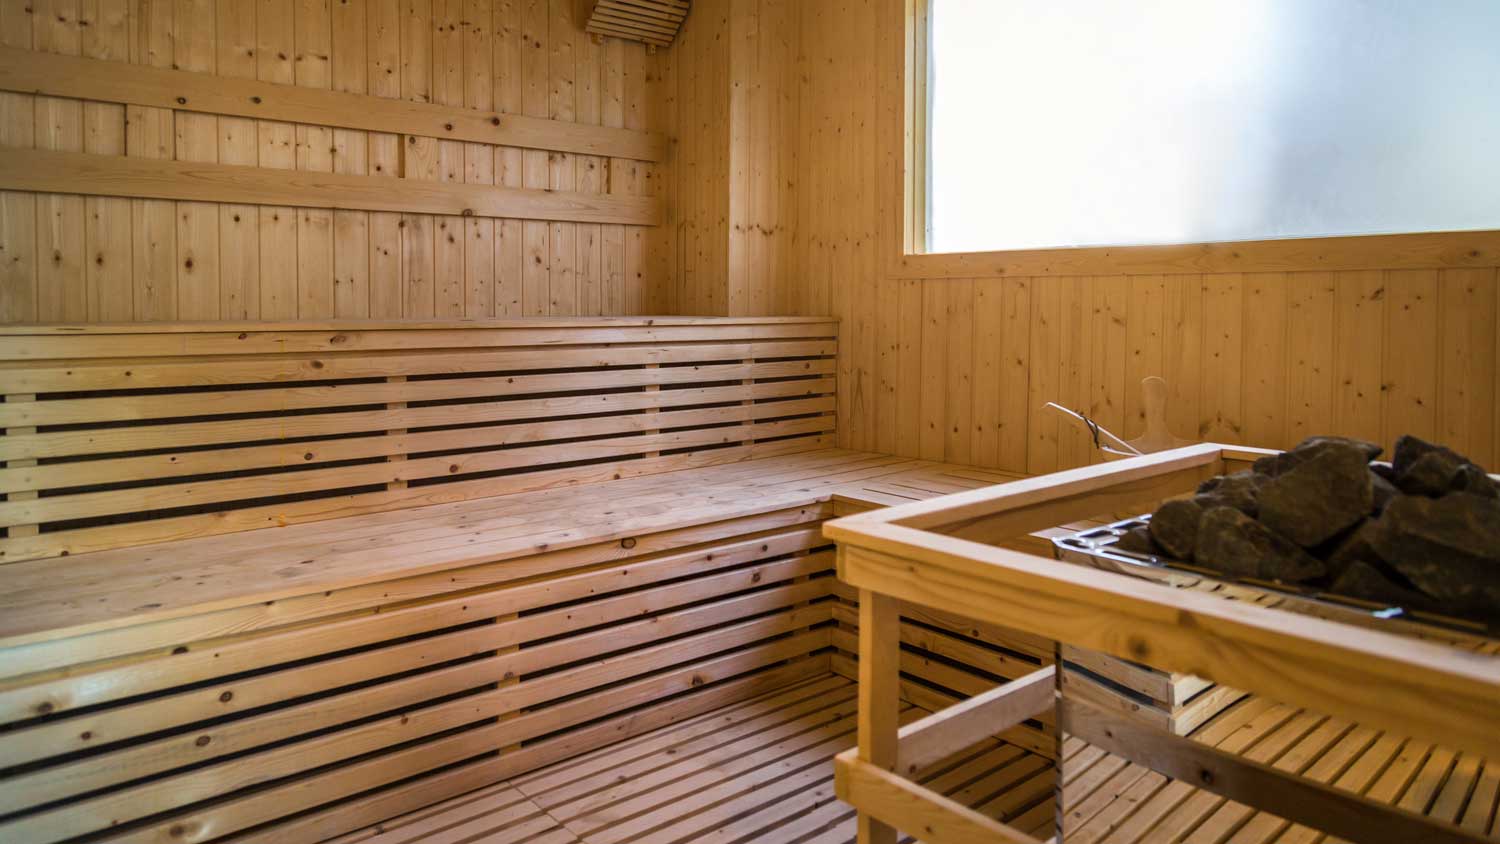
Lifting the heater unit into place wasn’t too bad, actually. Surprisingly. But then connecting it to the pre-installed wiring felt like performing keyhole surgery with oven mitts on. The space was tight, the screws were tiny. Dropped one screw, spent ten minutes searching for it with a flashlight. Found it stuck to the magnetic tip of my screwdriver. Small victories, eh?
The door. You’d think a door would be simple. Frame, hinges, door. Nope. Getting it aligned so it closed properly without a massive gap or scraping the floor? That was an art form I clearly haven’t mastered. It closes. Let’s just leave it at that. It’s got character.
Finishing Up and the Moment of Truth
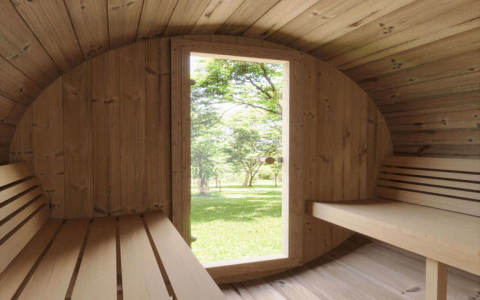
Putting in the benches was a relief. They just kinda slid into place. Finally, something that worked as advertised! Then the roof panel. More lifting, more aligning. Screwed that down, attached the vent, and stepped back. It looked… like a sauna. A slightly lopsided, but definitely sauna-like structure.
Cleaned up the mountain of cardboard and plastic. Took about as long as the assembly, I reckon. Then, the big moment. Plugged it in. Flipped the switch. The control panel lit up! No sparks, no funny smells. Success!
Waited for it to heat up. Seemed to take forever. Probably because I was staring at it. Finally, it was ready. Stepped inside. Sat down. It was hot. It was a sauna. All that work, all that frustration… yeah, it was kinda worth it. Still, if anyone asks me to help them assemble one, I’m suddenly gonna be very, very busy that weekend. My back’s still twinging just thinking about it.
